
Cabinet Painting In Lawrenceville
Beautifying residential and commercial establishments since 1984
Signs Your Kitchen Cabinets Are Ready for a Repaint
Peeling finish, dated color, and worn edges are the signs your cabinets are due for paint. If the boxes and doors are still solid, painting almost always beats replacing them. Water damage near the sink is the one thing that changes the plan.
Open a cabinet door and look at the edges around the handles. Chips or spots worn down to bare wood are wear, not dirt, and they are the clearest sign paint is due.
Many Lawrenceville kitchens were built in the late ’90s and early 2000s, when solid wood and oak boxes were standard builder stock. The honey-oak stain looks dated, but the wood underneath is usually sound and takes paint well after sanding and priming. That is a paint job, not a demolition job.
- Finish is dull, yellowed, or sticky to the touch even after cleaning
- Chips or scratches down to bare wood near hinges and handles
- Wood tone looks dated next to your countertops or floors
- Doors and drawer boxes are solid, with no swelling or rot
- Hinges and drawer slides still work smoothly, even if they look worn
One issue changes the plan. Soft, swollen wood near the sink base or dishwasher means water damage, and paint will not fix it. That section needs repair first, and sometimes full replacement. We check every box and door during the walkthrough so you are not paying to paint something that fails again in two years.
When Cabinet Painting Isn't the Right Fix
Paint sits on top of wood or laminate. It cannot fix what is broken underneath, and when a cabinet box has failed, painting hides the problem for a few months at best.
- Swollen or delaminating particle board under the sink, usually from a slow leak
- Doors that no longer sit flush no matter how the hinges are adjusted
- Water stains that keep bleeding through primer after two coats
- Cabinet boxes with cracked or split face frames
- MDF edges chipped away down to the core
We see this often in older homes near downtown Lawrenceville, where builder-grade boxes from the ’80s and ’90s are still in place. Press the bottom panel under your sink. If it feels soft or spongy, you have your answer.
If the wood is failing, no amount of prep changes the outcome. You are better off replacing the damaged boxes first and painting the ones that are sound. We would rather say that upfront than sell a job that will not hold up.
The Cabinet Painting Process, Step by Step
Paint is the easy part. Surface prep decides whether the finish lasts for years or peels by the second Thanksgiving. Older Lawrenceville cabinets hold grease and kitchen grime you cannot always see, and paint applied over that residue will not stick.
- Remove every door, drawer front, and piece of hardware, labeling each piece so it returns to the right spot.
- Degrease every surface, since cabinets collect cooking oil and hand oils faster than most people realize.
- Sand off the factory sheen so primer can grip the wood or laminate.
- Fill dings, nail holes, and worn edges, then sand smooth.
- Prime with a bonding primer made for cabinets, not wall primer.
- Apply two finish coats, usually sprayed, using Sherwin Williams, PPG, or Benjamin Moore products.
- Reinstall doors and drawers once they have cured, then check every hinge and pull.
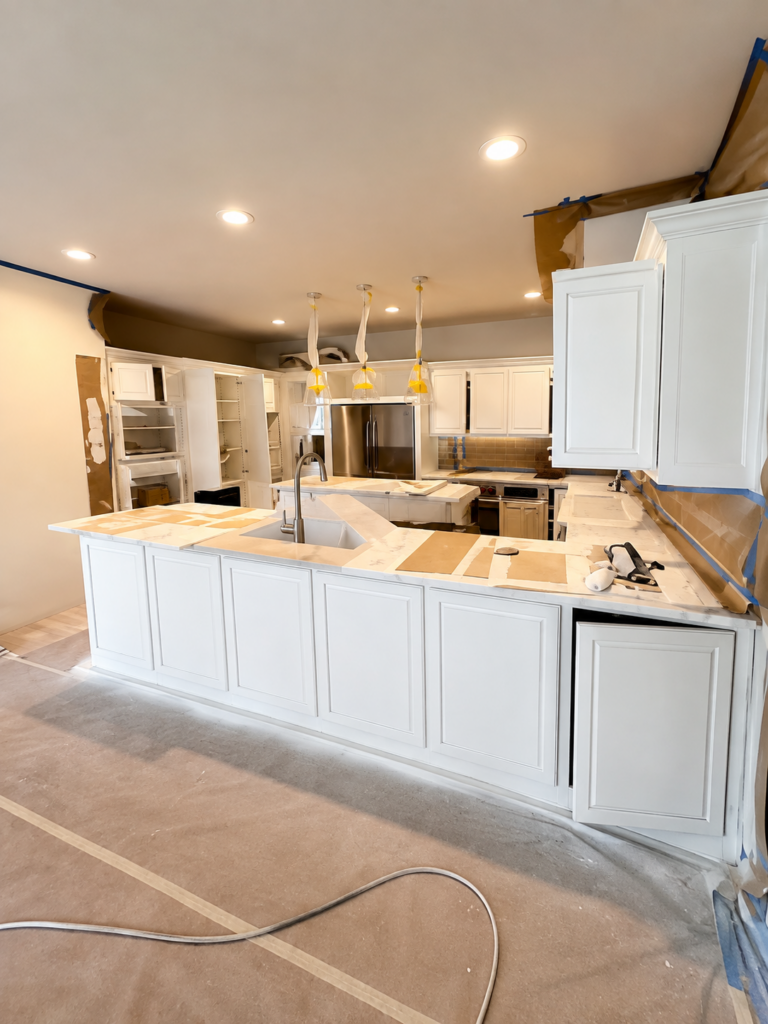
Doors and drawer fronts are sprayed in a controlled area away from the kitchen. Boxes and frames stay attached to the wall and are painted in place with a brush and mini roller made for smooth finishes.
Gwinnett County summers are humid, and the moisture slows curing between coats. Rush that step and the finish can stay tacky or peel within months, so we build the schedule around the humidity instead of fighting it.
You do not need to empty every drawer before we arrive. Clearing dishes and counters near the sink and stove gives us room to work and keeps everything free of sanding dust.
Frequently Asked Questions
Press on the wood and check the edges for chips down to bare wood. If the doors and boxes feel solid with no soft spots, paint almost always works. We only recommend replacement when the wood has swollen or split, usually from water damage near a sink or dishwasher.
Yes. Oak cabinets from that era take paint well once they are sanded and primed. The orange-toned stain looks dated, but the wood itself is usually fine. We sand off the factory sheen and use a bonding primer made for cabinets before any color goes on.
That section needs repair before we paint, not just a fresh coat. Press the bottom panel under your sink; if it feels spongy, the cabinet needs replacing first. We check every box during the walkthrough so you do not pay to paint something that will fail within a year.
You do not need to empty every drawer, but clearing dishes and counters near the sink and stove helps. We remove and label all doors, drawer fronts, and hardware ourselves. Boxes and frames stay on the wall and get painted in place.
Prep. We degrease every surface, sand off the factory sheen, and prime with a bonding primer made for cabinets rather than wall primer. Skipping those steps is the most common reason a cabinet paint job fails early.