
Residential Painting In Lawrenceville
Beautifying residential and commercial establishments since 1984
Spotting the Warning Signs of a Failing Paint Job
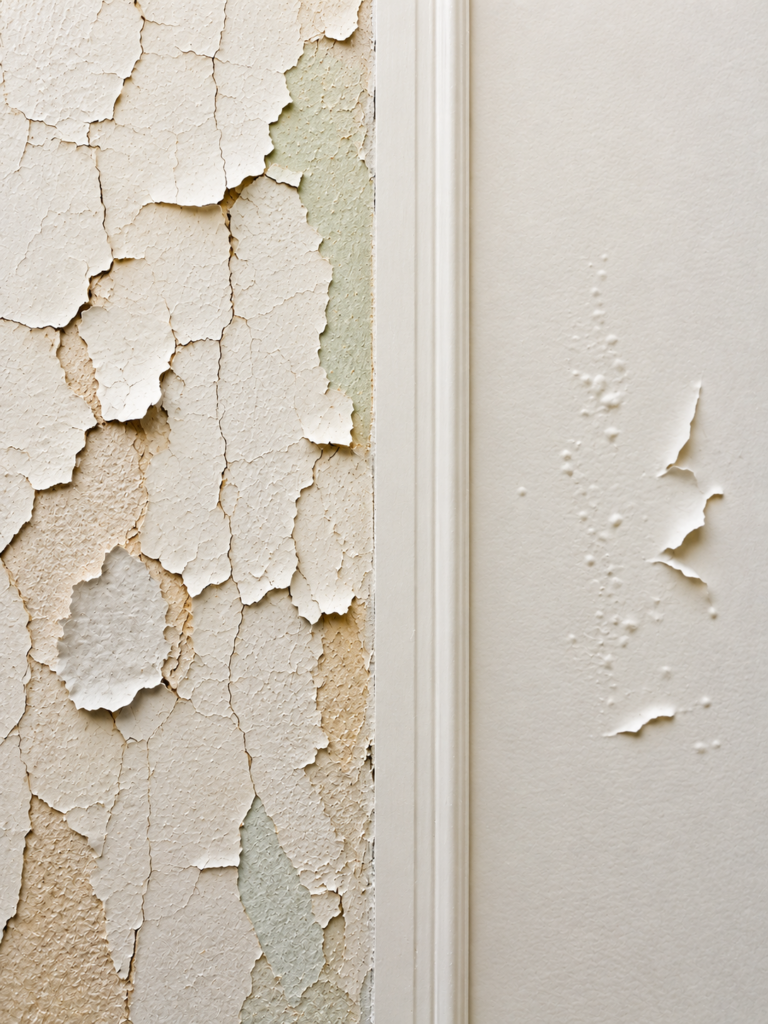
Cracking, peeling, and chalky residue usually point to a prep problem, not just old paint. Georgia’s humid summers and freeze-thaw winters push a bad paint job to fail in two or three years instead of seven or eight.
Look at your exterior trim first. Paint lifting in thin curls near windowsills or door frames usually means moisture is getting underneath the film — common on Lawrenceville homes built in the ’80s and ’90s, where original wood trim has swelled and shrunk for decades.
Chalking is the other signal. Rub your hand across an exterior wall; a powdery film on your palm means UV exposure is breaking the paint down. It shows up first on south-facing walls that catch full sun most of the day.
- Cracking or alligator-pattern paint, often on older siding or trim
- Peeling near gutters, downspouts, or roof lines where water runs
- Bubbling on interior walls near bathrooms or laundry rooms
- Fading that is uneven, patchy, or worse on one side of the house
- Chalky residue that transfers to your hand or clothes
Inside, watch for bubbling paint on bathroom ceilings and hairline cracks above door frames. Moisture or minor settling is usually behind them, and neither fixes itself. When several signs show up together, it is time to stop patching and plan a proper paint job.

When a Repaint Won't Solve the Real Problem
Exterior paint peeling in the same spot year after year points to a water problem, not a paint problem. We see it often on older homes with wood trim built before house wrap was standard. Paint over wet or rotten wood and it fails again within months. The same goes for brown stains on an interior ceiling — those usually mean an active roof or plumbing leak, and paint hides them for a week or two at most.
- Wood that is soft, spongy, or crumbles when pressed likely needs replacement before prep starts
- Ceiling stains that return after painting point to a leak that needs a roofer or plumber first
- Bubbling or cracking drywall needs drywall repair, not another coat over the damage
- Heavy mildew or algae on siding calls for pressure washing before paint comes up
Humid summers make all of this worse, since moisture finds gaps in old caulking and cracks in siding. Before we pick up a brush we check for soft wood, active moisture, and drywall damage. Fix what is underneath and the paint on top will last.
How Older and Newer Homes Get Prepped Differently
A home near downtown built in the 1950s behaves differently from one built fifteen years ago, so the prep checklist changes with the house. Older homes usually mean old plaster or wood siding: scraping, sanding, and sometimes skim coating cracked plaster before a brush touches the wall. If the home was built before 1978, lead-based paint may sit under newer layers, which changes how sanding and containment are handled.
Newer construction brings different headaches. Builder-grade paint on drywall looks fine at first, then flashes or peels within a few years because the drywall was never primed properly.
- Older homes — scrape and sand old paint layers, spot prime bare wood or plaster, caulk gaps that opened with age
- Newer homes — check for builder-grade paint failure, prime drywall repairs and patched nail pops, watch for flashing on flat-sheen walls
- Both — pressure wash exteriors to remove dirt and pollen before caulking or priming
It is easy to assume a newer home needs less prep than an older one. Sometimes it is the opposite: a five-year-old house with original builder paint can need more scraping than a well-maintained older home that has been repainted on schedule with quality products.

What a Professional Paint Job Includes
Most of the work that protects your house happens before a brush touches it. Skip a step and problems show up within a year or two as peeling, cracking, or flashing where patched drywall absorbs paint differently.
- Walkthrough and assessment — note cracks, moisture spots, and old caulk that has shrunk or pulled away.
- Surface prep — scrape loose paint, sand rough spots, fill nail holes and dings, patch drywall damage.
- Cleaning — dust and grime keep paint from bonding, so surfaces get wiped down or pressure washed.
- Masking and protection — cover floors, trim, fixtures, and furniture.
- Priming — bare wood, patched drywall, and stained areas need primer so the topcoat holds evenly.
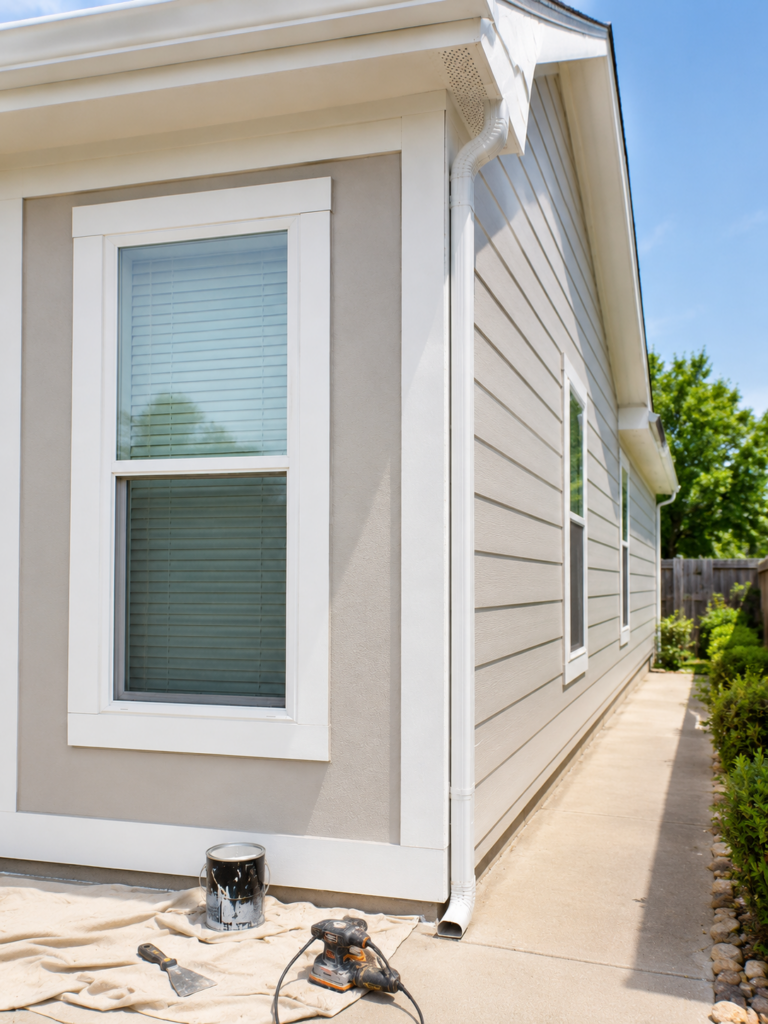
- Painting — cut in edges by hand, then roll or spray the field. Most surfaces need two coats.
- Final walkthrough — inspect each wall in good light, touch up thin spots, pull tape carefully for crisp lines.
We use Sherwin Williams, PPG, and Benjamin Moore products, along with eco-friendly, non-toxic options for families with children or pets, since fumes and off-gassing matter when you are living in the house during the job.
How Residential Painting Costs Are Structured
Square footage matters, but prep usually drives the number more than size does. Homes near downtown with original wood trim from the ’80s and ’90s need scraping, sanding, and priming before a topcoat goes on. Newer subdivisions off Sugarloaf Parkway often have vinyl or fiber cement trim. Two houses of the same size can take very different amounts of labor.
- How much scraping, sanding, or caulking the surface needs before paint goes on
- Number of coats required to cover the old color or hide repairs
- Trim, door, shutter, and window count, since cutting in takes longer than rolling walls
- Ceiling height and the amount of ladder or lift work involved
- Paint quality and sheen, which affect both cost and how long the job lasts
When comparing quotes, ask which prep steps are included and how many coats are planned rather than reading the bottom line alone. A quote that skips priming bare wood usually costs more in a couple of years, not less. We walk through every home before writing down a price, because surface condition tells us more than square footage does.
Frequently Asked Questions
Most take three to seven days, depending on the size of the home and how much prep it needs. Older homes with plaster walls or cracked trim take longer than newer homes, and humid summers slow drying between coats. We walk your home first and give you a realistic schedule.
We walk every surface before any paint goes on, looking for cracks, soft wood, moisture spots, and old caulk that has pulled away. Then we mask off floors, trim, and fixtures. You will see scraping, sanding, and cleaning before a brush touches your walls.
Original wood trim on homes from the ’80s and ’90s has swelled and shrunk for decades, which breaks the paint’s bond. Humid summers and freeze-thaw winters make it worse. Fixing the wood and caulk first is what makes a new paint job last.
Yes, anywhere there is bare wood, patched drywall, or a stained area. Skipping primer is a common reason topcoats look uneven or fail within a year or two, and it matters most on newer homes where builder-grade paint went over unprimed drywall.
If your home was built before 1978, we check for lead-based paint under newer layers before sanding starts. That changes how prep and containment are handled to keep dust controlled. We would rather flag it during the first walkthrough than find it partway through the job.